

The moment has finally arrived the freezer paper stencil tutorial! A freezer paper stencil is a handy little technique for quick easy projects. It involves cutting out a design from freezer paper, ironing to the fabric then painting. This is also the same technique I showed Michele (Short Girl, Long Island).
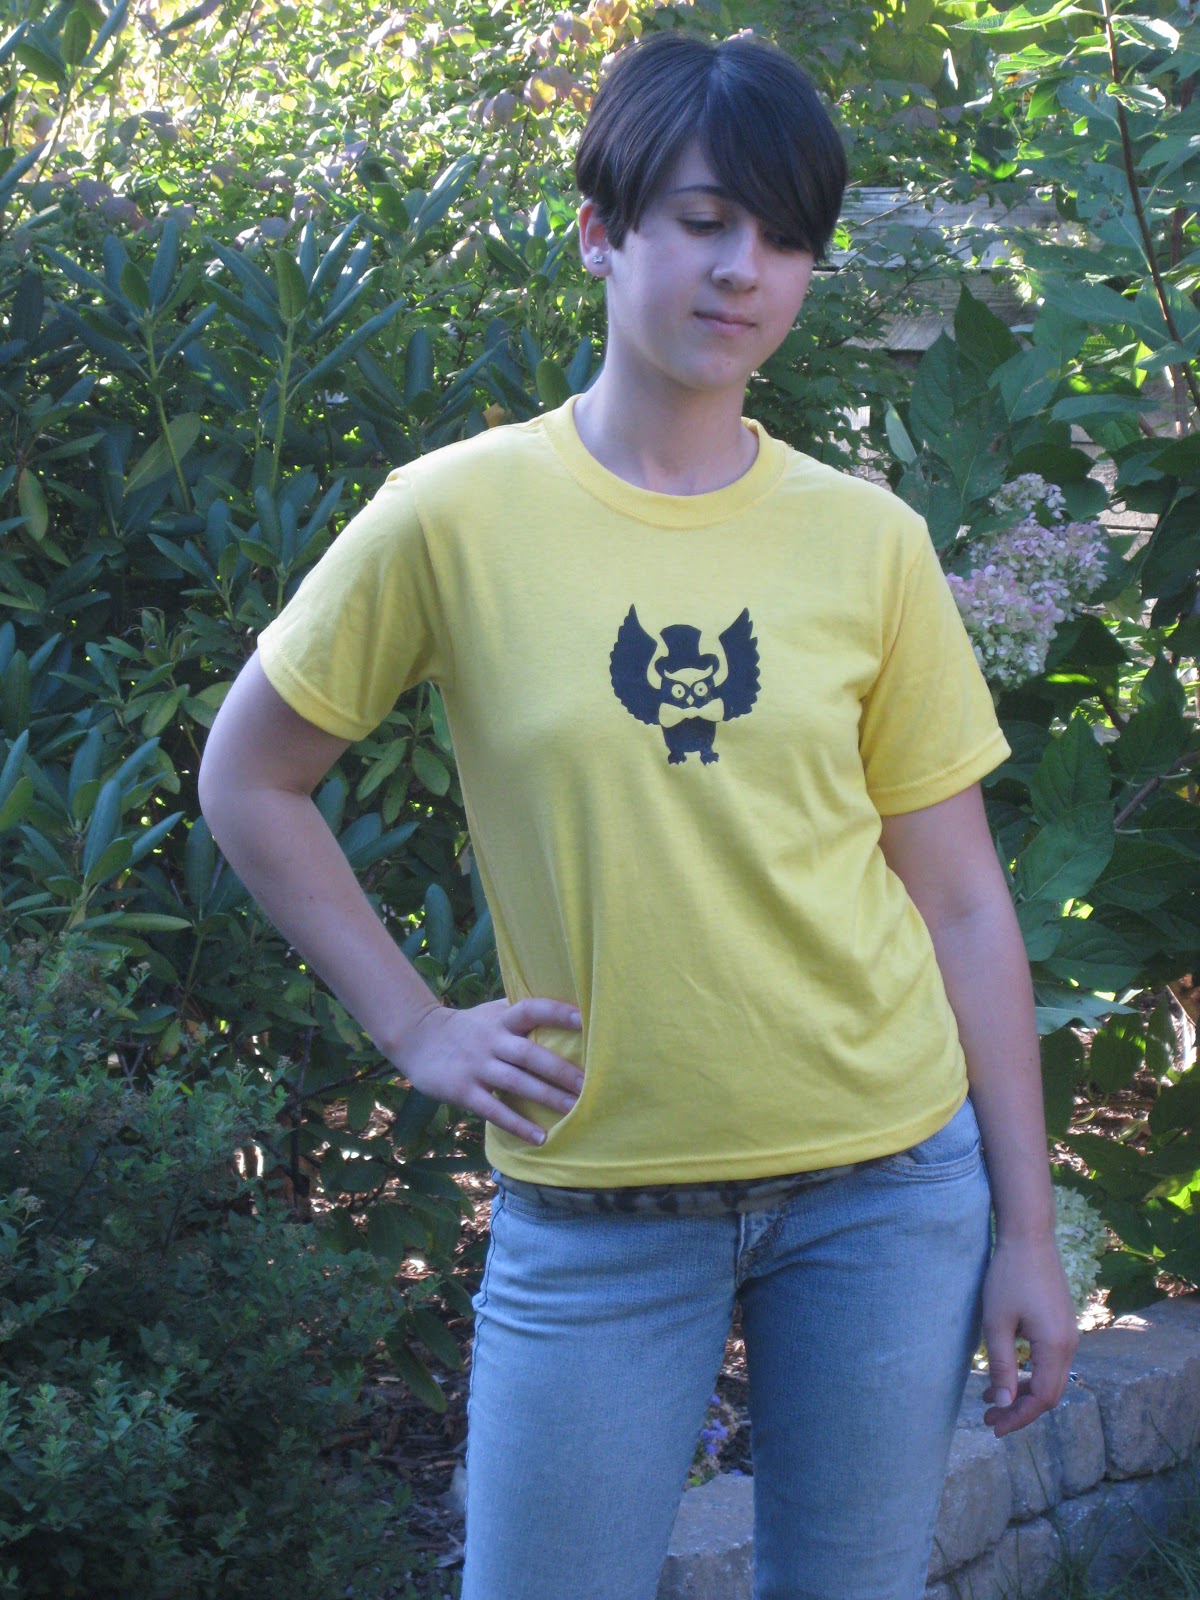
When my brother was up here we were looking up ideas for t-shirts. That's when I came across this book on the interwebs. I first came across Russian Criminal Tattoos when I was in High School. I was always fascinated by them perhaps it was how tattoos ranged from the quirky to the extremely bizarre. I had completely forgotten about them until we came across this cool looking owl.


To make the final design of the shirt work, I had to scale back a few of the details. Even so I think the final product came out great.
Here is how you can make your own t-shirt using a freezer paper stencil
Materials & Tools:
- Freezer Paper
- Pencil
- Design*
- Exacto Knife
- Iron
- T-Shirt
- Paint
- Foam Brush
- Piece of cardboard
Instructions:
- Map out your design. It is important to think in terms of negative space, a concept that is hard to grasp. So if you are a beginner at this I recommend silhouettes.
- Once you have your design figured out, trace it out on a piece of freezer paper. Make sure you trace SHINY SIDE DOWN! That is the side that sticks to the fabric
- After your design is cut out, I colored in all of the areas that were not going to be used. (You will noticed that some areas, like the eyes and bow-tie, are not colored in)

- Take your exacto knife and start cutting out your owl! I recommend starting with the small pieces that you need to save. Its both easier to cutting on these first and it also gives you the chance to put them aside in a safe place.

- When you pieces are all cut out, iron them to the shirt. (shiny side down!)

- Prepare your shirt and iron it out. Then place a piece of card board in the shirt. (so the paint won't bleed through the other side)
- Next is the fun messy part, painting! Grab your foam spounce brush and start painting over the stencil. Be careful with some of your smaller pieces. Paint those areas first incase the stencils come off, like my owl eyes.

- When the paint is dry, peel the paper off of the shirt.

- Heat set the paint and go over the design with an iron
- Be proud you made something awesome!

Go ahead and make your own freezer paper stencil designs, I would love to see them when they are done!
-Sarina
hello,
ReplyDeleteI loved all of these posts. A lot of these things we have, but I got some really great ideas.
Workout wear for women
awesome! love this tutorial, and great shirt dooood
ReplyDeletethanks! They were super fun to make and quite easy.
Delete