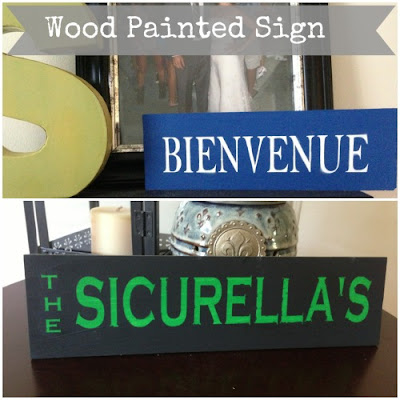
Materials & Tools
- Contact paper
- Paint or spray paint (two different colors)
- Silhouette Machine
- If you don't have one, you can always pick up stick on letters (follow negative stencil instructions)
- Another option is to trace the letters on the back of contact paper and cut them out
- Wood shape
Instructions
- Plan out your sign. What do you want it to say? What colors do you want to use? What color do you want the letters to be? What colors do you want the background to be?
- When making a stencil on the Silhouette Machine you can either use the negative or positive of the stencil.
- I have two separate instructions for both. Sometimes you can save both stencils and make two signs.
- Measure the size of your wood shape
- Cut a peice of contact paper that same size
- Adjust the size in the silhouette software to make sure your design will fit
- Type of and format your design
- Lay down contact paper (pattern sign up!)
- For the settings:
- Speed - 8
- Thickness - 3
- Blade - 4
Negative Stencil
- Firgure out your colors. Contrasting colors work best!
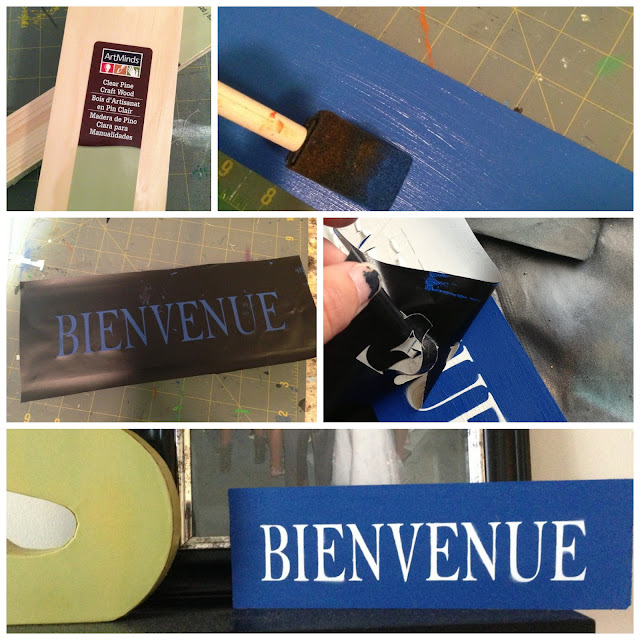
- Paint the wood shape the color of your letters. (paint the entire shape)
- Once dry, stick your design to painted block. Once it is perfectly on there and the air bubbles are all pushed out.
- Take some more of the letters color and out line the design (this just makes it look nice and crisp when finished)
- Paint over the stencil with the background color and let it dry.
- Peel off all the pieces to reveal your design
- Enjoy your beautiful masterpiece!
Positive Stencil
- Figure out your colors. Keep in my these instructions are reversed from the previous instructions
- Paint the wood shape the background color, let dry
- Stick stencil onto the wood shape. Press out all of the air bubbles as best you can.
- Paint over the stencil. Use the color you want for the letters, let dry.
- Peel off the stencil to reveal you lovely design!


No comments:
Post a Comment