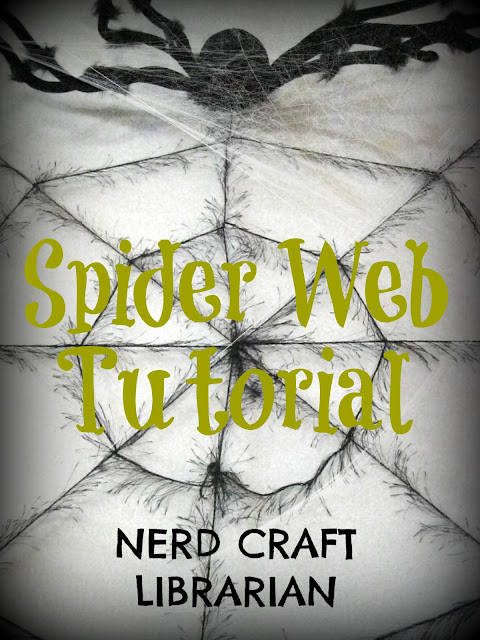
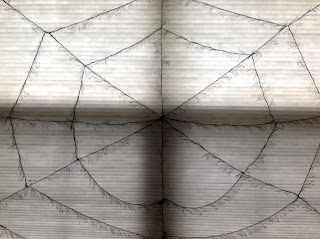
So we have a big window in our living room and while figuring how Halloween decorations I felt a big spiderweb belonged there. I broke out some yarn and made a big web and TA DA!
Would you like to make your own spooky spider webs? Here is how!
Materials & Tools:
- Yarn (any color ya want)
- Tape
- Push pin
Instructions
- Measure out how big you want your web to be. Then cut 4 pieces that size.

- Tape all of the loose ends on each piece of yarn. This step makes it easier when hanging this up and it gives the push pin something to grab on to.

- Use the push pins and hang up two pieces of yarn to make an X
- Then make a cross that intersects with the X

- Now take some yarn and tie it to one end, and wrap it around each piece of yarn and continue until to you reach where you started. Cut off yarn and tie it to the piece.
- Repeat the same step until you get the exact look you want

- The center of your web may get a little wacky after you add some web rows, have no fear! Just cut a small piece of yarn and tie it around all the pieces and they will be nice and tight!

- Don't forget to add a spider to it!


No comments:
Post a Comment