

At certain times of the year I'm quite the busy gal. I have a bunch of task managers to help keep me on track. In the craft room I wanted to make something helpful to keep track of projects I'm working on and blog posts to publish. I used to have a calendar where I would just put up post-it notes of all of the different things I have to get done. After a cold winter in there and the addition of a much needed space heater, post-it notes became a bit of a hazard. So I was stuck, what was I to do?
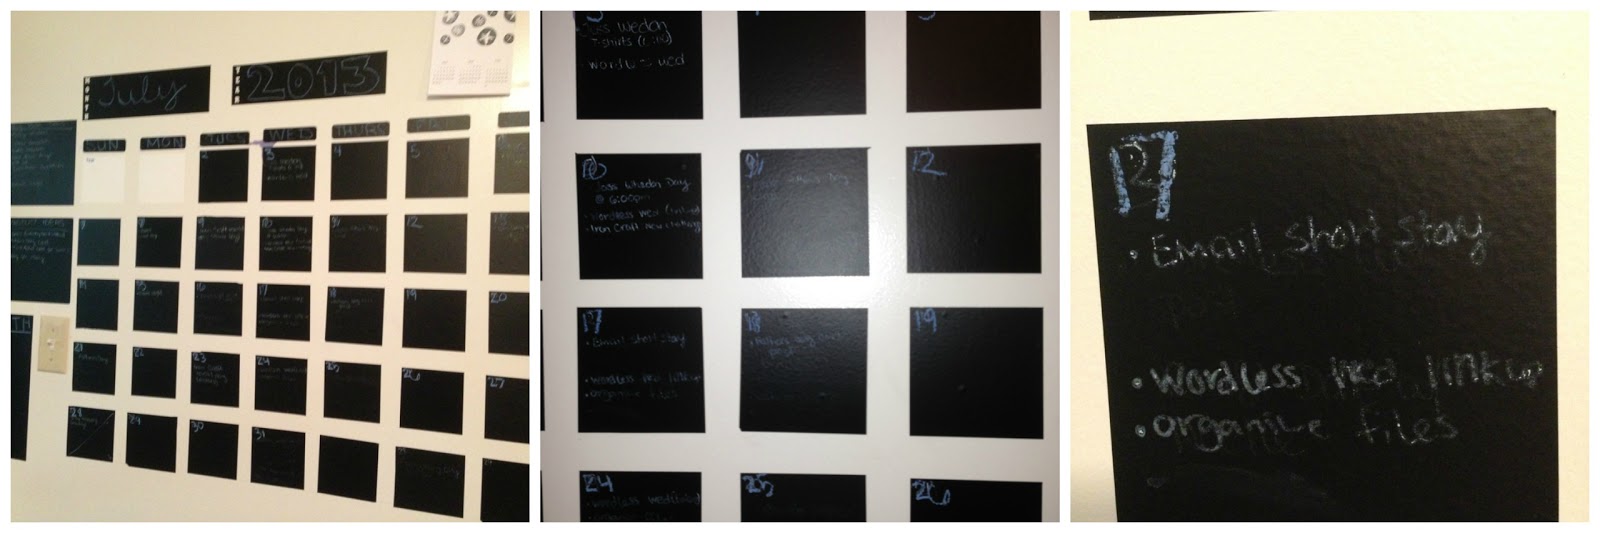 |
| As you can see, the white chalk paint would not erase. |
I used some black contact paper to make a chalk board calendar. I set up a grid and started organizing my tasks. However, I ran into a few issues. I couldn't write things in detail because of how chalk is. So I used a chalk ink pen instead. It worked great for my first month, but when I went to clear the calendar for the next month, the chalk ink was not going quietly. Again I was stuck! At the time I had recently purchased some white contact paper and I had another idea. I took some dry erase markers and did an experiment, and to my surprise it worked just like a dry erase board. So I set about making my calendar yet again. This time around It's been up for a couple of months and it has been working perfectly! When it comes time to wipe away for the next month, I just need a wet paper towel (magic erasers also work like a charm)

Since it's back to School time this project is perfect to help you get into the swing of things! Here is how you can make your own calendar

Since it's back to School time this project is perfect to help you get into the swing of things! Here is how you can make your own calendar
Materials & Tools
- White contact paper
- Exacto Knife
- Ruler
- Markers (Dry erase)
- Masking tape (optional)
- Something heavy (to weight down the paper roll as your measuring & cutting)

Instructions
- In order to determine your calendar dimensions make sure you have a good spot picked out. A big empty wall works best. Keep in mind that you will be making 7 columns (one for each day of the week) with 5 rows (for each week of the month)
- Here are the dimensions I used:
- Day squares 4 X 4 inches
- Days of the Week rectangles 4 x 2 inches
- Once your size has been determined, roll out some contact paper and start tracing our your day squares. You will need 35. Also measure out days of the week rectangles, you will need seven.
- Tip: Most contact paper has a grid on the back of it, which will help white measuring and marking out all of the shapes.
- After all of the squares and rectangles have been traced start cutting them out. You can use scissors or lay down a ruler and go over the trace marks with an exacto knife.
- Go to the wall you are putting the calendar, and give it a little clean. Use a ruler to make the measurements of where the calendar will be placed. If you want to make sure the calendar is perfect, then use masking tape to create a grid.
- Now you are ready to create your calendar! Peel and stick all of the peices to the wall. Remember you are making 7 columns across and 5 rows down.
- If you get any air bubbles use a piece of card board to push them out.
- Use your dry erase markers and start setting up your calendar and plugging in important dates and tasks
- When you are ready to erase the calendar use a damp cloth or a magic eraser.

The superb highly informative blog I’m about to share this with all my contacts. ReMARKable whiteboard wall
ReplyDelete